Kale Chips

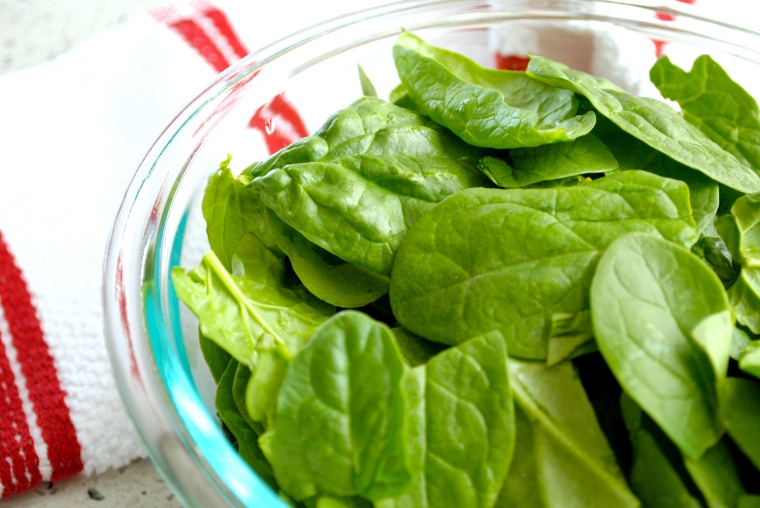
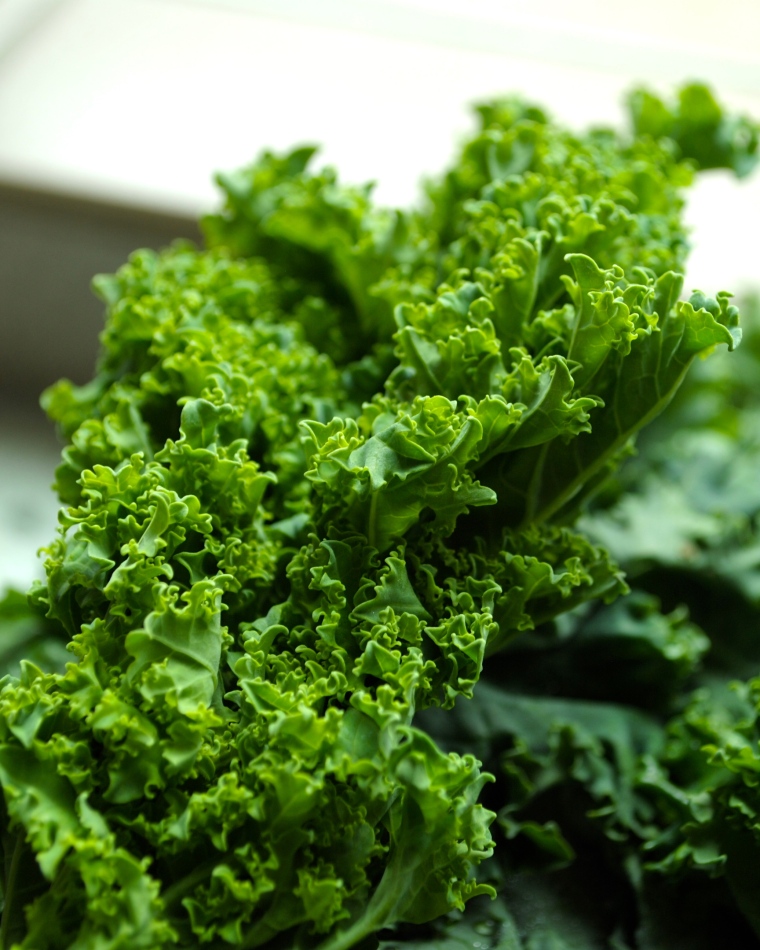
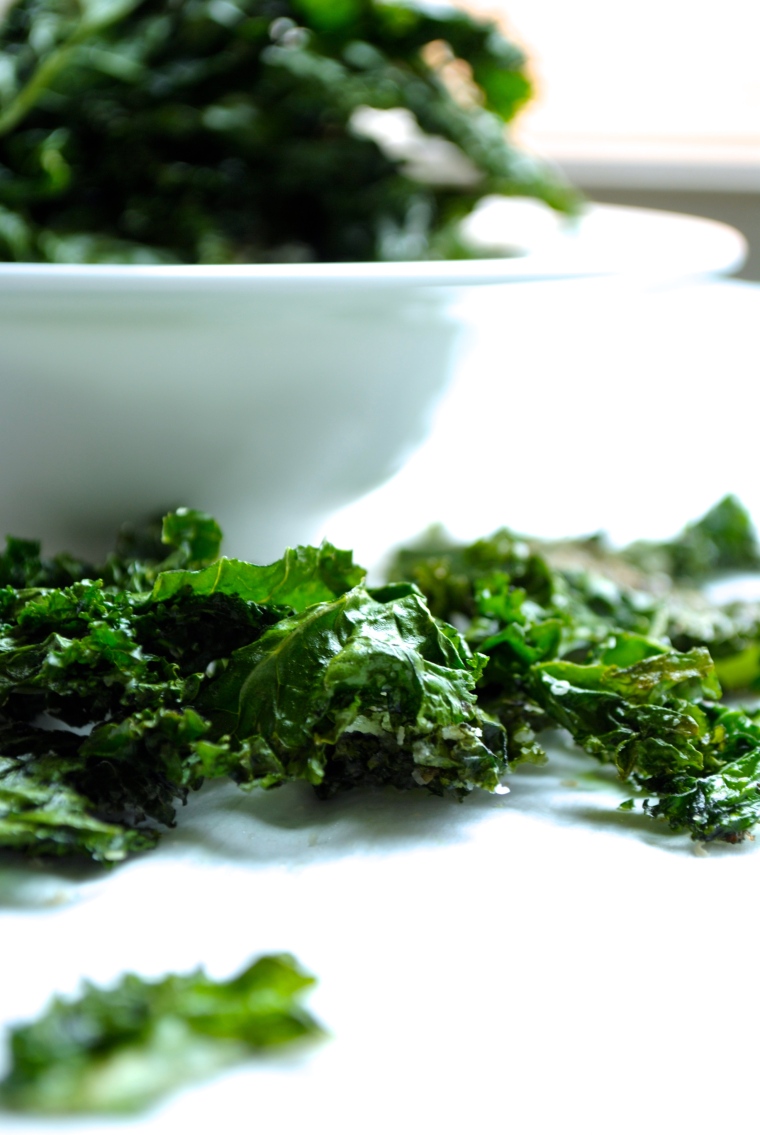
Everybody knows that kale is a superfood that is bursting with essential nutrients. Although it makes a great green for a springtime salad, I prefer to make these chips more. The baked kale leaves make a great, crunchy and healthy snack and are perfect addition to a movie night in.

DSC_0772

It is very important to thoroughly dry the kale leaves after washing them, otherwise they will steam in the oven and will come out soggy instead of deliciously crunchy. Also the seasonings are entirely up to you, but I prefer not to add too many so that they do not overpower the flavor of kale itself. Here are some of the many spices that you can incorporate into the recipe:

  • Smoked paprika
  • Onion powder
  • Cayenne pepper
  • Black pepper
  • Ground cumin

Also, although it can be very tempting, do wait until the chips cool down on the baking sheet before taking removing them – this will ensure extra crispiness.

DSC_0814 3

Bon Appétit !

Kale Chips

  • Servings: 4
  • Difficulty: easy
  • Print

Ingredients:

  1. 2 Large kale bunches
  2. 2 tbsp extra-virgin olive oil
  3. 1 tsp fine salt
  4. 2 tsp garlic powder
  5. 1/2 tsp Italian seasoning

Directions:

  1. Preheat the oven to 300°F (150°C) and line 2 large baking sheets with parchment paper
  2. Remove any rough stems from the kale
  3. Thoroughly wash and dry the leaves in a salad spinner (I use this one)
  4. In a large bowl, toss the leaves with olive oil making sure to thoroughly coat the surface
  5. Add the seasonings and toss
  6. Lay out half of the kale onto the baking sheets in a single layer making sure not to overcrowd and to leave some space between each leaf
  7. Bake in the oven for 20-25 minutes, rotating the sheets halfway to ensure even browning
  8. Once baked and crispy, remove from the oven and allow the kale to cool on the baking sheet completely
  9. Repeat the same process for the remaining half of kale leaves

Sunny Side Up Eggs & Avocado Toast

Weekend breakfasts are probably my most favourite dishes to prepare, since there’s no rush to leave the house and you can take all the time in the world to prepare the most important meal of the day.

For our family almost every breakfast features eggs in one form or another, and since we’ve been on an avocado-craze lately I decided to combine the two favourites in this easy, simple and scrumptious recipe.

As for preparing the sunny-side up eggs, my method might be a little bit different since I actually prefer to use stainless steel skillets over non-stick or cast iron. Also this recipe is very flexible and can be used as a base. You can play around with it and replace the whole grain toast with any other type of bread, or add various seasonings to the avocado.

Sunny Side Up Eggs & Avocado Toast

  • Servings: 2
  • Difficulty: easy
  • Print

Ingredients:

  1. 2 medium sized eggs (I always prefer to use organic, omega 3 enhanced)
  2. Olive oil
  3. 1 medium sized ripe avocado
  4. 2 wholegrain slices of bread toasted to preference
  5. Salt – to taste
  6. Pepper – to taste

Directions:

  1. Cut the avocado in half and remove the skin and pit
  2. Using a potato masher (I use this one), mash the avocado until there are a few small chunks left, add salt and pepper to taste
  3. Heat a medium sized skilled over medium to low heat
  4. Lightly coat with olive oil
  5. Crack the two eggs into the skillet, making sure that they are separated from each other
  6. Add salt and pepper to taste
  7. Cover the skillet and allow the egg to cook – make sure that the whites have set and the yolk is still runny, about 3-5 minutes
  8. Spread half of the mashed avocado on each toast and top it with one of the eggs
  9. Serve immediately with a cup of freshly squeezed orange juice

Enjoy !

Glazed Lemon Cookies Recipe

Now that summer is getting closer, I’m starting to crave desserts that are on the lighter side of things. Although I have nothing against a rich, moist and decadent chocolate cake, when the sun starts shining through these lemon glazed cookies sound like a much better idea.

A tip for this recipe is to start out with room temperature softened butter. You know it is soft enough when you can easily leave a thumbprint, like so:

DSC_0457

Also, be sure to use really good quality butter since it will have a much lower water content that those of poorer quality.

You could also play around with the recipe and make your cookies a little larger, but there’s something about the mini portions that makes them taste even more decadent.

DSC_0507.jpg

DSC_0502

When baking the cookies be sure to place the baking sheet on the upper rack of your oven to prevent the bottoms from browning too quickly. You know that the cookies are done when they start to get a nice golden colour underneath.

DSC_0561

When making the glaze you can always add more powdered sugar to thicken it up, or more lemon juice to thin it out, but you are looking for a pourable consistency.

DSC_0527

I have found that it is always easier to dip (or even double dip) the cookies into the glaze, however if you want to you can always spoon the glaze on top, or even use a piping bag to create a design.

DSC_0589 2

DSC_0675

Once the glaze has set, serve the cookies with a cold, refreshing drink. Enjoy !

Glazed Lemon Cookies

  • Servings: 35-37 cookies
  • Difficulty: easy
  • Print

Ingredients:

  1. 3/4 cup (1 1/2 sticks, 171 g) softened unsalted butter
  2. 3/4 cup (150 g) granulated sugar
  3. 2 large egg yolks
  4. 1/2 teaspoon vanilla extract
  5. 1/4 teaspoon salt
  6. 2 cups (256 g) all-purpose flour
  7. Zest of 1 lemon
  8. 1 cup (128 g) confectioner’s sugar
  9. Juice of 1 lemon

Directions:

  1. Using a stand mixer, beat the sugar and softened butter until light and fluffy
  2. Beat in the egg yolks, vanilla extract, lemon zest and salt until incorporated (be sure to scrape the bottom of the bowl)
  3. Slowly add in all-purpose flour and mix until fully incorporated
  4. Divide the dough into two equal parts
  5. Roll each piece of dough into a 1 1/2 inch (4 cm) diameter log, and wrap it in parchment paper
  6. Refrigerate the logs for 30-40 minutes, or until firm to the touch
  7. Preheat the oven to 350 °F (177 °C)
  8. Once the logs have hardened, remove one of them from the fridge and cut into 1/2 inch (1 cm) thick slices (in the meantime be sure to keep the second log in the fridge)
  9. Repeat for the second log
  10. Lay out each cookie on a baking sheet
  11. Bake for 15-20 minutes, or until the bottoms get a slight golden colour
  12. Remove from the oven and allow the cookies to cool completely
  13. In the meantime, whisk together the confectioner’s sugar and lemon juice
  14. Once the cookies have cooled, dip each one into the glaze
  15. Allow the glaze to set and enjoy!

Optional: You can always double dip the cookies if you prefer a thicker layer of glaze

Note: You can also freeze the dough for up to 2 months after rolling it into a log, and simply cut it up and bake it for a slightly longer time.

Spinach & Mozzarella Pinwheels

Honestly speaking, I have never been a huge spinach fan. Don’t get me wrong, I love my greens, but that list includes kale, broccoli, arugula and so on and so forth, but spinach is definitely not up there. That was until I came across this delicious recipe. These pinwheels are great as an appetizer for entertaining, or a snack as a leftover.

DSC_0364.JPG

DSC_0375

The dough that I use in this recipe is my go-to pizza dough for a number of reasons, first and foremost being the fact that it does not require hours of rising time. Let’s face it, when that craving for good homemade pizza hits, not everybody has the patience to wait through that excruciating rising time. However if you are in a rush, there is always the option of using store-bought pizza dough, but homemade always tastes better.

DSC_0383

The key to making this recipe work is rolling out the dough to a very thin and even layer (I use this rolling pin). This is because it puffs up quiet a bit in the oven, and you don’t want the dough to overpower the taste of the filling.

DSC_0389

DSC_0401

You know the pinwheels are done when they are nice and golden brown on the outside, and the cheese bubbling up and getting a nice crust. They are best served warm, with or without your favourite marinara sauce as a dip. Refrigerate any leftovers and reheat before serving.

DSC_0409

Bon appetit !

Spinach & Mozzarella Pinwheels

  • Servings: 10-12
  • Difficulty: easy
  • Print

Ingredients:

For the pizza dough:

  1. 1 cup (235 ml) warm water
  2. 1 tbsp white sugar
  3. 3 tbsp olive oil
  4. 2 1/4 tsp active dry yeast
  5. 1 tsp salt
  6. 1 tsp Italian seasoning
  7. 2 1/2 cups (320 g) of all-purpose flour

For the spinach filling:

  1. 1 5oz (142 g) package of baby spinach
  2. 2 cups (226 g) of shredded mozzarella cheese
  3. 2 garlic cloves minced
  4. 2 tbsp olive oil
  5. 1/2 tsp salt

Directions:

  1. Preheat the oven to 450 °F (232 °C) and line a cookie sheet with parchment paper
  2. Thoroughly wash and dry the spinach, and remove any stems
  3. Heat the olive oil in a medium sized saute oven medium high heat
  4. Saute the minced garlic for 1-2 minutes until fragrant
  5. Add the spinach and cook until completely wilted
  6. Remove from heat and place spinach on a paper towel to remove excess liquid and oil (This step is crucial, otherwise you will end up with a soggy pinwheel)
  7. In the bowl of a stand mixer, stir the water, sugar and yeast together until dissolved
  8. Add the olive oil, salt and Italian seasoning
  9. Using the dough hook, mix the dough on medium speed until all the ingredients are fully incorporated and the dough pulls from the sides of the bowl
  10. Seal the top of the bowl and allow the dough to rest for 10 minutes
  11. Meanwhile lightly flour your working surface
  12. Once the dough has rested, roll it out to a rough rectangle to a 1/8 inch (3mm) thickness
  13. Evenly sprinkle 1 cup (113 g) of the shredded mozzarella onto the dough
  14. Evenly distribute the spinach onto the mozzarella
  15. Sprinkle with the remaining 1 cup (113 g) of mozzarella
  16. Sprinkle on top 1/2 tsp of salt
  17. Roll the dough into a log and place seaside down
  18. Cut the log into 1 inch (2.5 cm) thick pieces and place each one onto prepared cookie sheet
  19. Bake in preheated oven for 15-20 minutes, or until the dough is golden and the cheese is bubbling
  20. Optional: serve with some marinara sauce as a dip

Azeri Baklava (Azərbaycan Paxlavası)

Baklava (Pakhlava)

  • Servings: 16-18
  • Difficulty: Medium
  • Print

Ingredients: 

For the baklava:

  • 1 Filo dough package (16 oz) thawed
  • 0.5 lb walnuts
  • 0.5 lb pecans
  • 1 cup sugar
  • 2 tsp ground cardamom
  • 1 tsp ground cloves
  • 1 tsp ground cinnamon
  • 1 cup butter (melted) + more for greasing
  • 1 egg yolk

For the syrup:

  • 1/2 cup water
  • 1 cup sugar
  • 1 tsp vanilla extract
  • 1/2 cup honey

Directions:

  1. Preheat the oven to 350 °F (175 °C)
  2. Generously butter a 9×13 inch pan
  3. In a food processor, ground the walnuts and pecans until they are finely chopped, but still have a few larger pieces to add some crunch
  4. In a large bowl, mix the ground nuts with the sugar and spices
  5. Place 1 fillo sheet in the pan, and using a pastry brush generously cover it with the melted butter
    • Making sure than each sheet is generously covered in butter, place 3 filo sheets on the base of the baklava
  6. Sprinkle about 2 tablespoons of the filling onto the filo sheets
  7. For every layer above the base use 2 filo sheets, making sure to cover each of them in butter
  8. Repeat steps 6-8 until you reach the top of the pan
  9. For the final layer, use 3 filo sheets, similar to the base but do not spread butter on the final sheet
  10. Using a pastry brush, spread the egg yolk on the final sheet to help with the browning in the oven
  11. Grease a very sharp knife on both sides, and carefully cut in a diagonal crosshatch pattern
  12. Take whole pecans and place them on each diamond shape
  13. Bake baklava in the oven for about 50 minutes, or until golden and crispy
  14. In the meantime in a medium saucepan over medium heat dissolve the sugar and water in a low simmer
  15. Add in the honey and melt it completely
  16. Remove from the stove and add in the vanilla extract
  17. In the last 15 minutes of baking, take the baklava out of the oven and go over the pattern with a sharp knife, and pour the remaining melted butter over the cuts
  18. Once the baklava is ready take it out of the oven and pour the syrup over it while it is still hot
  19. Leave it to cool down before taking them out of the pan, and serve with a cup of black tea

Enjoy!